- Home
- Principles and Practices
- Computer Aided Design
- Computer Controlled Cutting
- Electronics Production
- 3D Scanning and Printing
- Electronics Design
- Molding and Casting
- Embedded Programming
- Computer Controlled Machining
- Input Devices
- Composites
- Interface and Application Programming
- Output Devices
- Networking and Communication
- Mechanical/Machine Design
- Project and Development
- Final project
This week we are learning the process of molding and casting. I chose to come up with a random design that would have curves and angles. I wasn't sure how it would come out but by the time I was finished designing it looked like something between a light switch cover and the case part to a cassette tape player... I began by designing my image in Sketchup; before I finished the model in Sketchup, I was instructed on an easier way to create my mold by using OpenSCAD.
I created a positive creation of my image and when all edits were finished in SCAD I then transferred my file into MeshLab after saving it as a binary .stl file. MeshLab gave me a finished 3D image of my mold. From MeshLab, I ended up using Rhino which gave me a grey scale image of my mold.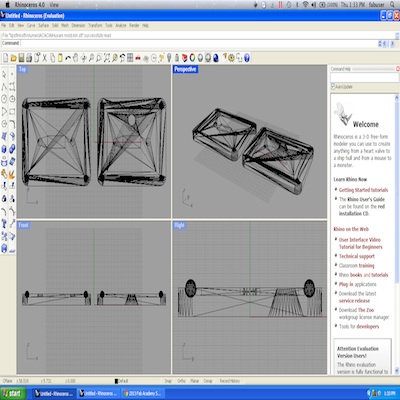 My binary .stl file was transferred into the Roland Modela (rml) and I then prepared the machine for wax milling. I used millable wax and a 1/8 inch round bit. A rough pass was initiated and milled. 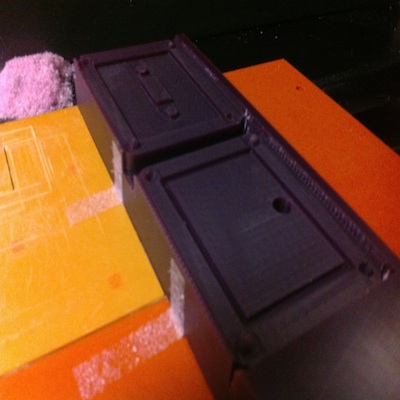 Right after I cleaned up and saved the wax shavings from the rough cut, I initiated the final cut. I noticed that I zeroed the pin too close to the edge of my wax block and so I had to come up with a solution when the time came for pouring the rubber mold (Oomoo). 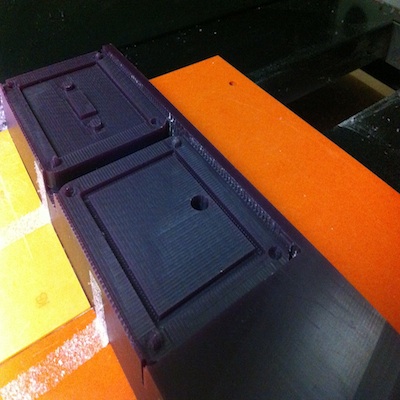 In order to keep the Oomoo from spilling over my mold, I used a few pieces of plywood and the wall to form a barrier around the wax. 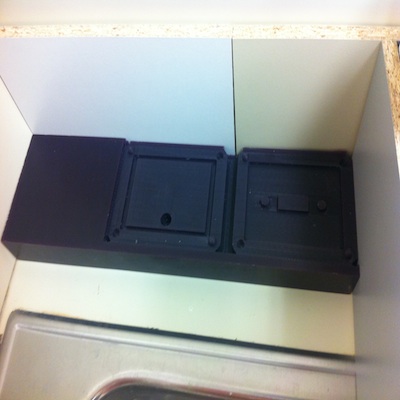 I then began to mix my Oomoo A and B mix. I followed the instructions given on the Oomoo box and used a scale to weigh the chemicals evenly. I stirred the mix for about 5 minutes or more of continuous stir motion and was set to pour. I then carefully poured the mix onto my mold and even spread it out being careful not to cause anymore bubble pockets. 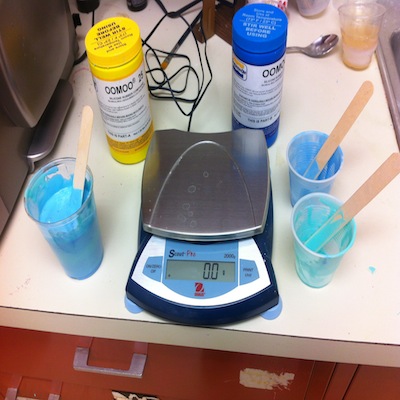 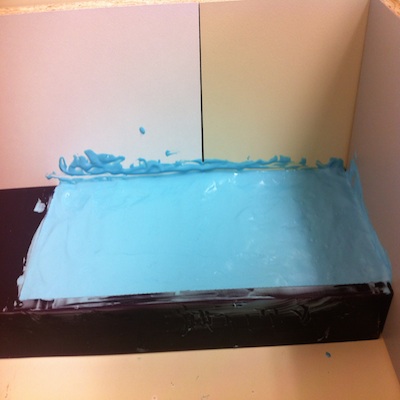 I waited for an hour and a half before I removed the Oomoo from wax. I then removed the mold and separated the two sides of the mold with a razor. 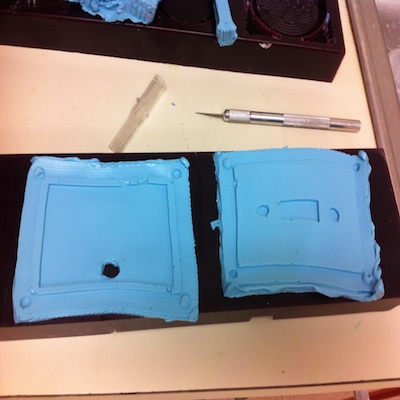 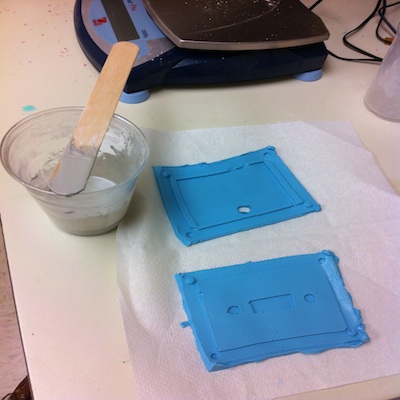 I waited for 30 minutes before I checked the finished product. After it dried I carefully removed the finished product to inspect it. I had one air hole on the side of the model. I didn't have to but I decided to try and patch it; I wanted to see how a patch job would look. The edges were not sharp and the pour turned out to be sub par. 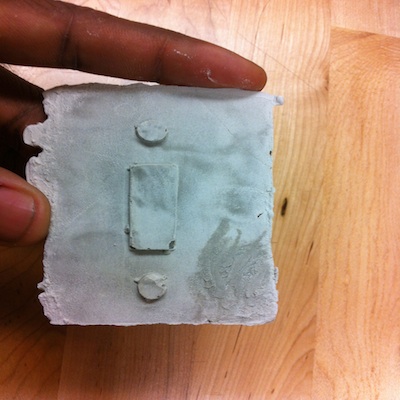 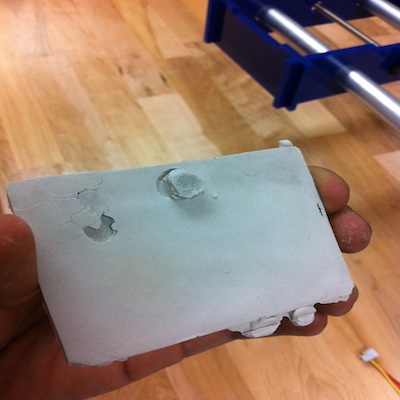  Overall, I understand the process and see how I can make an impact on my fabrication projects by using molding and casting. Im positive that after a few more attempts at molding and casting, the process will be smoother for me. The object will be used for something; maybe target practice. |